
Here is a picture showing how to assemble the official lapbook.

I'm glad to have the sample so I can organize the lapbook (note how they grouped the Jewish history lessons together and the Roman lessons together). I was surprised/disappointed that the graphics for the minibooks weren't from the textbook. I guess they couldn't get permission to use the Homeschool in the Woods images. Instead most of the pictures looked like they were drawn by kids. There were also a few (only two in the first quarter) lessons that didn't have a minibook. So using the sample pictures as a starting point, I decided to make my own lapbook pieces. I scoured the Internet to find images ( I didn't have to worry about copyright issues) or used images from my purchased copy of History Through the Ages figures. I used my Graphic Toolbox and Photoshop Elements to create my own minibooks or add color to the ones I used from the MOH lapbook.
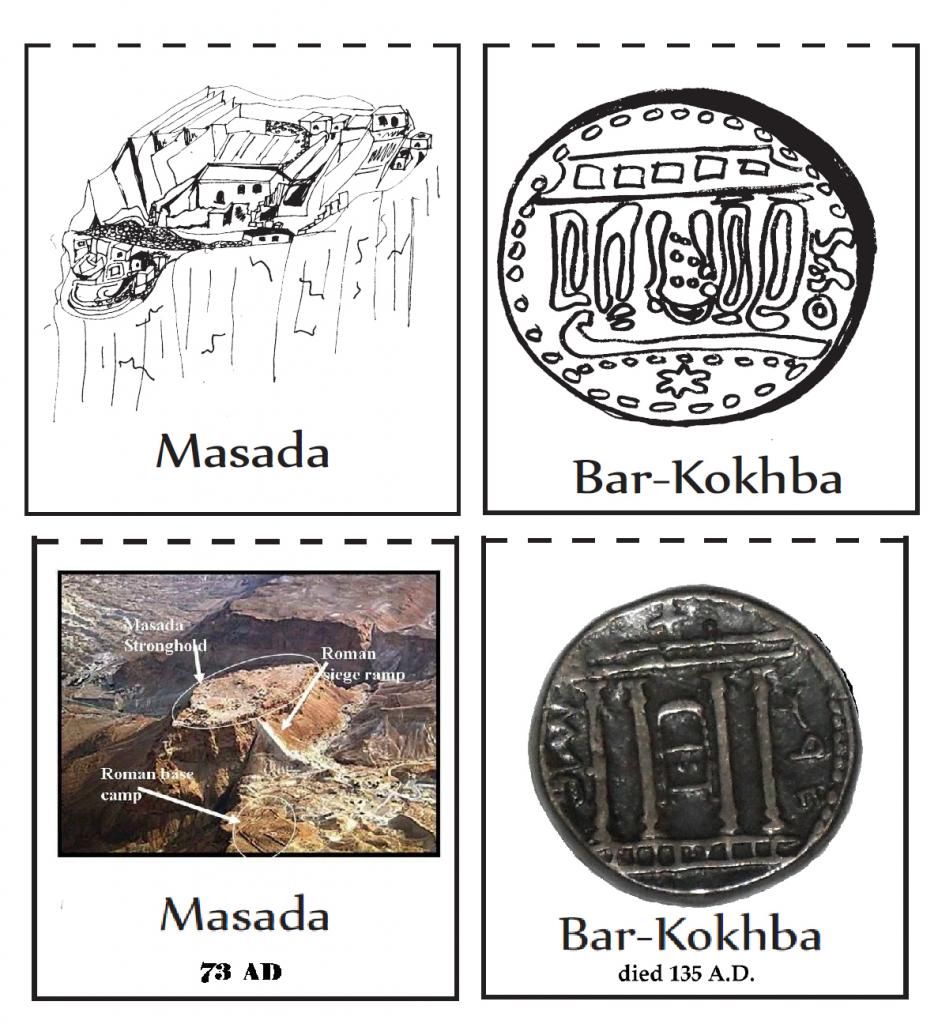 |
| Official images on top, my substitutions below |
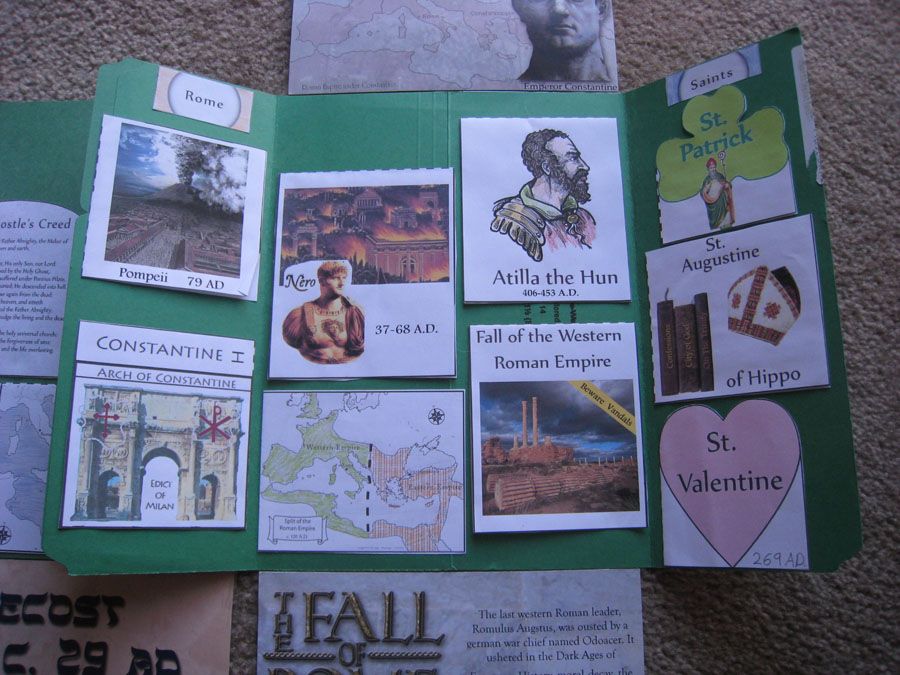
The results are much more colorful and I was able to make minibooks for the missing lessons (like the Golden Age of India) and put them on what would have been an unused flap. I also added the posters I made for the Dates to Remember. Here's our first quarter Lapbook....
I love lapbooks. This one turned out great!
ReplyDeleteI love lapbooks, too! They can be such an excellent review tool. I wish my son loved them, too, but he doesn't. (He doesn't love much.) So he just has to do them anyway sometimes. :-S
ReplyDeleteIt turned out great! I really need to use lapbooks more.
ReplyDeleteWonderful job!!! We've made a few but my daughter never ends up enjoying the process as much as I'd hope. Maybe the little one will when the time comes.
ReplyDeleteI love it! They didn't have lapbooks when we did MOH!
ReplyDeleteI love the idea of lapbooks. I think I need to get back to doing lapbooks with my Supergirl.
ReplyDelete