
So that's my word for 2014. But there are many other inspiring words in the dictionary. You can check out what other Review Crew members chose for their focus word at 2014 Word for the Year Round Up. (link will go live 1/1/14)

Supplies | Equipment |
| soft foods | A bowl or tray |
| drink | kitchen shears |
| water mixed w/ laundry detergent | potato masher |
Supplies | Equipment |
| Acidic liquid | 1 Gal. Ziploc bag |
| green food coloring |
Supplies | Equipment |
no new supplies
|
leg from pantyhose
|
a deep tray to catch liquid
| |
rubber or surgical gloves
| |
canning funnel
|
Supplies | Equipment |
no added supplies
|
a plush towel
|
a deep tray to catch liquid
|
Supplies | Equipment |
no added supplies
|
a plastic bag
|
a tray or plate
|
 For years I always knew Christmas must be getting close when I saw my first SaladShooter commercial on television. Oh sure, there are other products that show up on the little screen only at Christmastime—Chia Pets and The Clapper come to mind, but I’m a kitchen gadget junkie so that’s what catches my attention. I’ve never actually owned a SaladShooter though. That’s just one of those presents that I figured would end up in the graveyard of space-consuming, too-much-of-a-hassle-to-get-out-and-clean- afterwards appliances that has grown in my basement (believe it or not, there’s a hot dog toaster interred there now). That’s not to say there aren’t some really useful kitchen gadgets out there for gift giving be it Christmas or any other time of year. Here are five of my favorites—at all different price points, and I can personally vouch for their usefulness.
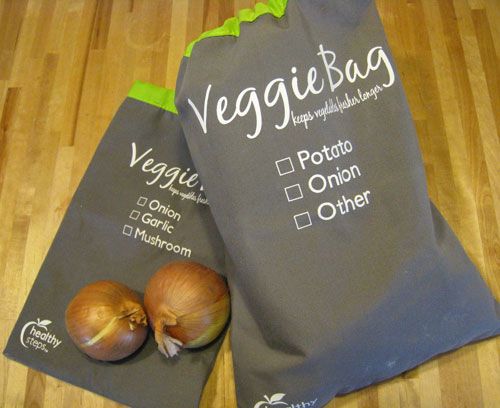
Why It’s on the List: There’s are few things more frustrating to this frugal mama than having to throw “cash in the trash” because the produce I’ve bought has gone bad or started to sprout.
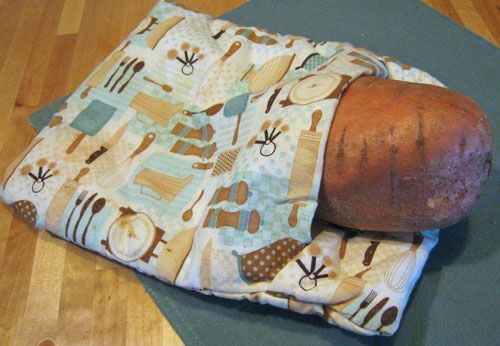
Since we’re on the subject of potatoes anyway, let me tell you about a super kitchen gadget I found at a craft show of all places! Alongside handmade shopping bag holders and tea cozies, this crafter was selling potato bags with instructions on using them in the microwave to cook potatoes, sweet potatoes, and corn on the cob. I’d been using a plastic steamer for my microwaved potatoes, but they never had the right texture. Now they come out with the mouth feel of a real baked potato. I’ve also found these bags to be great for reheating rolls and homemade pretzels without them hardening post- microwave.
Why It’s on the List: This is a gift you could make yourself in bulk (think teachers, neighbors, co-workers) and the materials aren’t very expensive –100% cotton thread, fabric, and batting. Just try Googling Potato Bag pattern. There’s also energy savings by using the microwave vs. the oven and saving on utilities by not heating up the kitchen in the summer.
When my Schnickelfritz was only three, I brought home 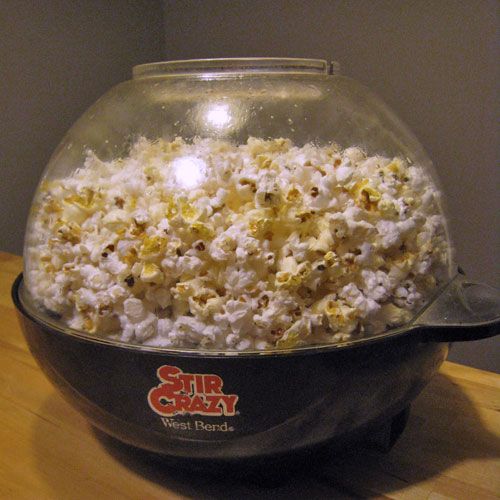 a Stir Crazy Popcorn Popper I’d found on clearance. I figured, and I was right, that he’d love watching the kernels ricochet around the clear dome/bowl. It’s now the snack of choice in our home on movie nights and several times during the week. You’re not limited to butter and salt for seasoning either. You can find great recipes for sweet and savory alternatives online.
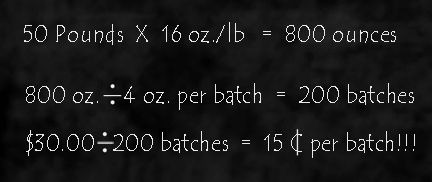
Why It’s on the List: When purchased in bulk (like Sam’s Club), popcorn can be one of the cheapest snacks that will still satisfy the salty/crunchy desires of my heart. My Stir Crazy makes about 6 quarts of popped corn at a time—about as much as a bag of chips, but for FAR less money. Take a look at my calculations from my last bulk purchase.
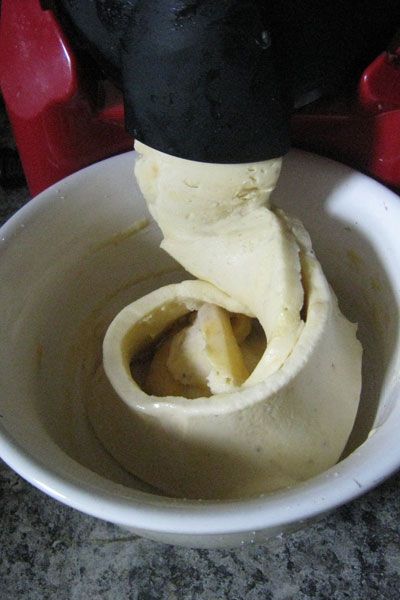
I’ll confess, this purchase was my gadget addiction run amok but now that it’s been in my house all summer I’ve not been sorry one instant for my Yonanas machine. When temps soared over 100 and my son and I needed a cool treat, we would grab some frozen bananas and other fruit and have a soft serve ice cream-like snack in minutes! Strawberries and bananas is my son’s favorite. I liked mango with mine, or even blueberries and cinnamon. And there wasn’t any guilt in eating it as often as we wanted because IT WAS JUST FRUIT! (There are more decadent recipes out there with crumbled up cookies and candy bars if that’s your thing).
Why It’s on the List: I can still make a case that this is a frugal kitchen tool because we weren’t running to Dairy Queen all summer. We’d buy berries in season (cheapest price) and freeze them for later. You also don’t have to throw away overripe bananas because that’s the stage that makes the best treats. You may even be able to buy spotted bananas at a deep discount at the grocery. And I’m going to give Yonanas bonus points because it helps me get more fruit into my kid’s diet.
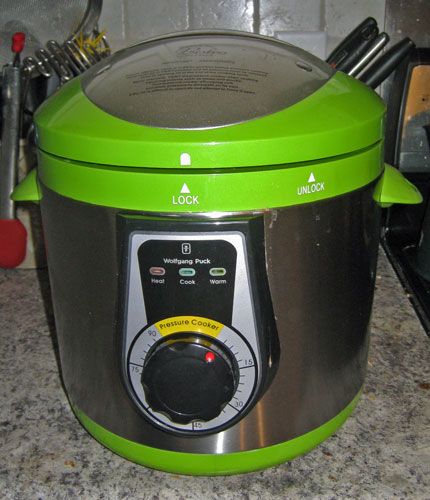 This is going to be the most expense upfront purchase of the list, but you’ll be saving money in the end. I’ve owned and upgraded through three pressure cookers in the dozen years I’ve been married. I’m getting my biggest one yet this Christmas and passing my current one on to my mother this year, along with lessons on how to use it. Mom’s from the era that remembers someone exploding split pea soup on the kitchen ceiling, but the modern electric pressure cooker has multiple safety features. If a pressure cooker is beyond your budget right now than consider its slower cousin – the crockpot. You’ll just need to be more organized to start cooking earlier in the day because you’ll need hours not minutes.
Why It’s on the List: Obviously eating at home is cheaper than eating out. If you can’t or forget to start dinner until the last minute there’s no need to resort to a trip to the drive thru. There’s lots of meals can be cooked in under 15 minutes—faster than any pizza can be delivered. You’ll also have energy savings in not using the oven for hours or heating up the kitchen. Pressure cookers (and slow cookers) also tenderize the tougher (and therefore cheaper) cuts of meat so you’ll save on groceries.
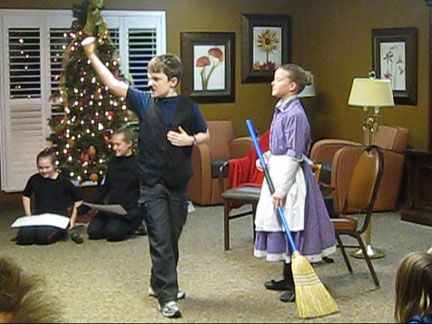 |
| "You haven't seen the last of me." |
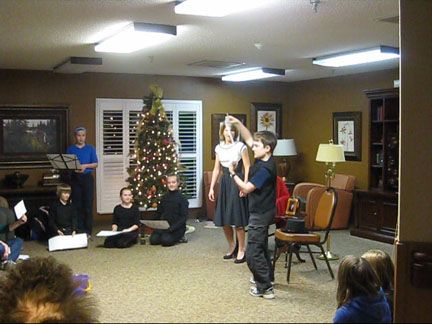 |
| "If you don't marry me, I'll foreclose on the mortgage!" |
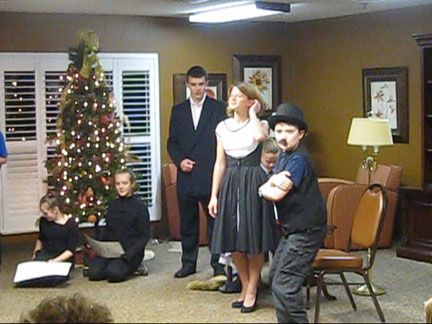 |
| Hubert was chilled by Angela's cold reception (get the pun?) |
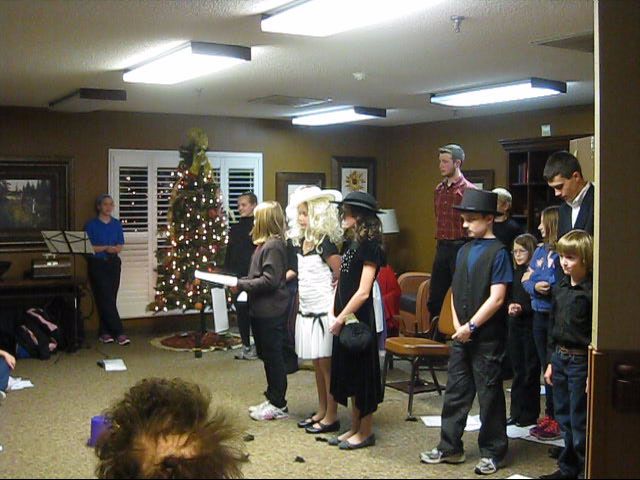 |
| Curtain Call |
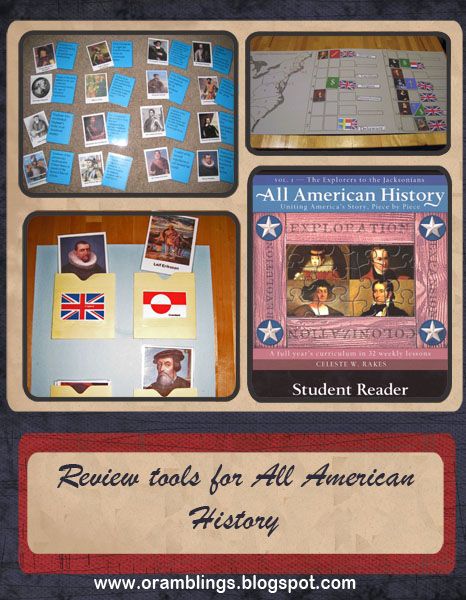 I love my Schnickelfritz dearly and I’m the first to admit he has a great memory….for the things he’s interested in: Hank the Cowdog titles by number, the names of the bones in your body, the distances of all the planets from the sun. For other things we have to drill, drill, drill. History falls into this category. I can’t blame him as I didn’t like history that much in school either. I probably knew some/most of this stuff at one point in my education but flushed it out to make room for the dates, names, and places I would need for the next chapter’s test. So I’m leaning this stuff right along with my son (and old brains need drill, drill, drill too!). This summer while reading through the Teachers Guide to prepare for for All American History I found review games for each quarter.
Here’s my take on the first two (I’ll be preparing the second semester during our Christmas break).
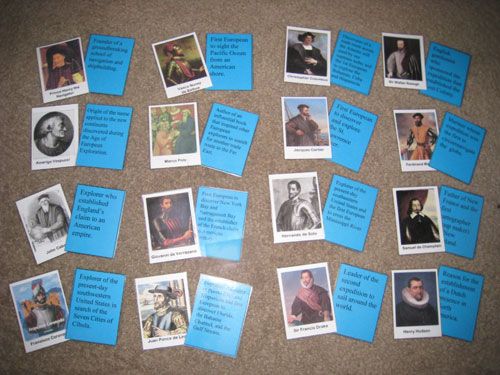
We have 17 explorers to remember: their countries of birth, the country that sponsored their voyages, and key faces about each. I added a few more explorers because I’ve been combining AAH with the New World Explorers study by Homeschool in the Woods . Using Photoshop Elements, I began by making baseball card sized flashcards with the facts from the quarter review. (You can read my post about using the PE Type Tool in my 5 Days of Photoshop Elements for School series). After saving the fact cards file, I cleared the words and used the blank cards as a template to fit images of the explorers that I found on the internet. Everything got printed on cardstock and laminated for sturdiness (we did a lot of reviewing). 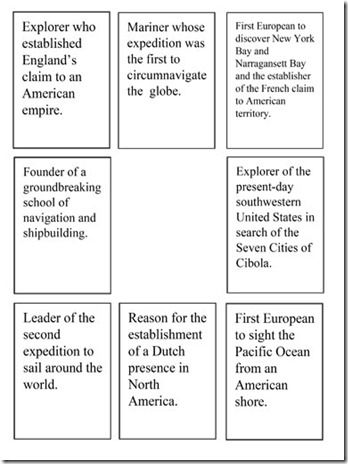
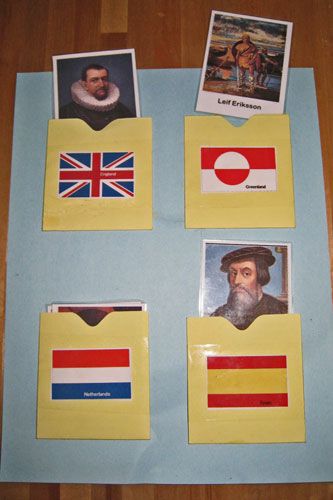
For storing everything in our notebook, I placed pockets on cardstock. Each pocket had a flag on it so we could store the explorers by where they were born or sponsoring country. For the few explorers that worked for more than one country, Fritz could use either country’s pocket and just mention the second nation although you could make two cards for those individuals. There were separate pocket pages to hold the key fact cards. Some countries (like Spain) have a lot of explorers so make sure you allow for a deep enough pocket to fit them all.
2nd Quarter: American Colonies
We’ve got thirteen colonies (you probably knew that) to identify on a map along with key figures, reasons for colonization and sponsoring country(ies). I started by finding a map on the internet showing the original territories rather than the modern state shapes. I manipulated it with PE to make it as large as possible while still fitting on a page, but that left very little room to add pictures as the teacher's guide suggested. I worked around that by creating a three-paneled foldable.
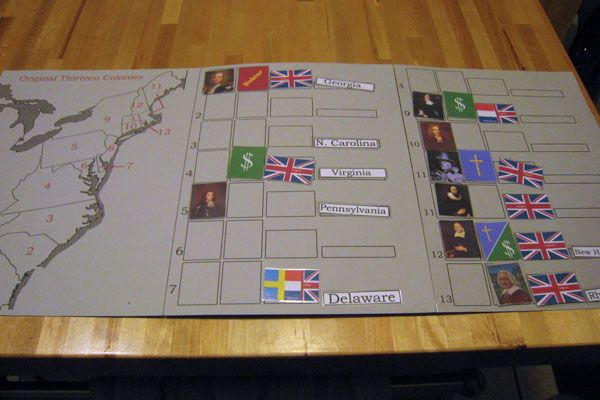
Each colony was numbered on page 1 and the pertinent cards could be placed in corresponding boxes on pages 2 and 3. Careful observers will notice that there are two #11’s to account for the Plymouth and Massachusetts Bay colonies. In hindsight, I wish I had included the names of the key figures (as I did with the explorers). After all, I want to remember who each man was not necessarily pick him out of a line up. Since the portraits were already printed I wrote the names on the back before laminating them.
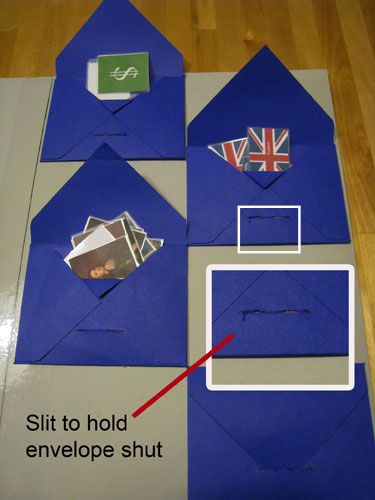
To include this fold-out in a notebook it’s helpful to trim about half an inch from the width of pages two and three so they’ll fold nicely without interfering with the binding or hole punches. I added storage envelopes to the back of the center panel.
Incidentally, I found an error in the key figures provided by All American History. The sketch for John Wheelwright shows a man dressed more for the Civil War era than the founder of a colony in 1622.
 |  |
| The AAH portrait is based on this image of a William Wheelwright who played a key role in transportation in Chile in 1838, but I found numerous places on the internet where the figure was referred to as the founder of New Hampshire colony – proof that not everything you read on the Internet is true | A real portrait of the 17th century minister. |
Don't miss a thing! Subscribe to Ozark Ramblings and get my posts in your inbox.