Here is a picture showing how to assemble the official lapbook.
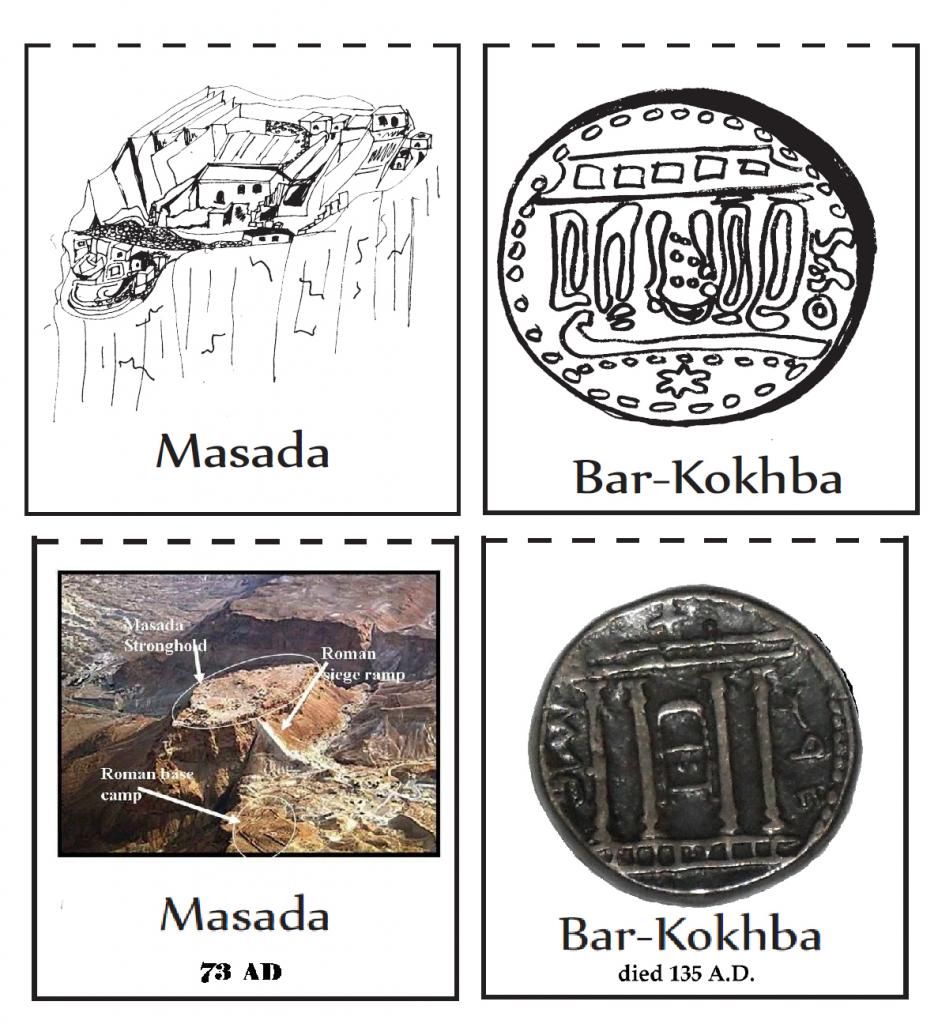
I'm glad to have the sample so I can organize the lapbook (note how they grouped the Jewish history lessons together and the Roman lessons together). I was surprised/disappointed that the graphics for the minibooks weren't from the textbook. I guess they couldn't get permission to use the Homeschool in the Woods images. Instead most of the pictures looked like they were drawn by kids. There were also a few (only two in the first quarter) lessons that didn't have a minibook. So using the sample pictures as a starting point, I decided to make my own lapbook pieces. I scoured the Internet to find images ( I didn't have to worry about copyright issues) or used images from my purchased copy of History Through the Ages figures. I used my Graphic Toolbox and Photoshop Elements to create my own minibooks or add color to the ones I used from the MOH lapbook.
 |
| Official images on top, my substitutions below |
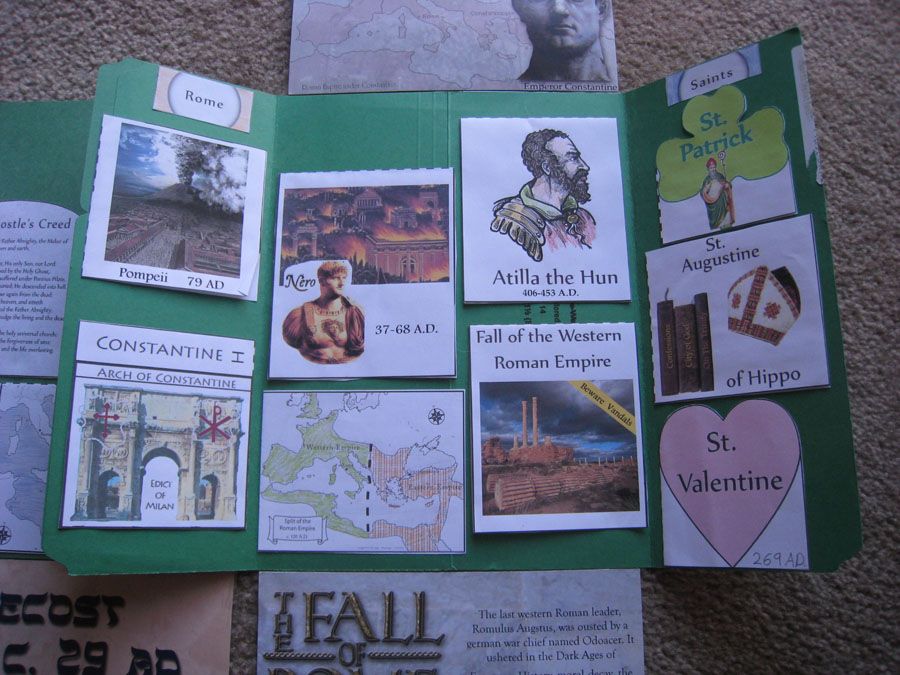
The results are much more colorful and I was able to make minibooks for the missing lessons (like the Golden Age of India) and put them on what would have been an unused flap. I also added the posters I made for the Dates to Remember. Here's our first quarter Lapbook....


6 comments:
I love lapbooks. This one turned out great!
I love lapbooks, too! They can be such an excellent review tool. I wish my son loved them, too, but he doesn't. (He doesn't love much.) So he just has to do them anyway sometimes. :-S
It turned out great! I really need to use lapbooks more.
Wonderful job!!! We've made a few but my daughter never ends up enjoying the process as much as I'd hope. Maybe the little one will when the time comes.
I love it! They didn't have lapbooks when we did MOH!
I love the idea of lapbooks. I think I need to get back to doing lapbooks with my Supergirl.
Post a Comment