
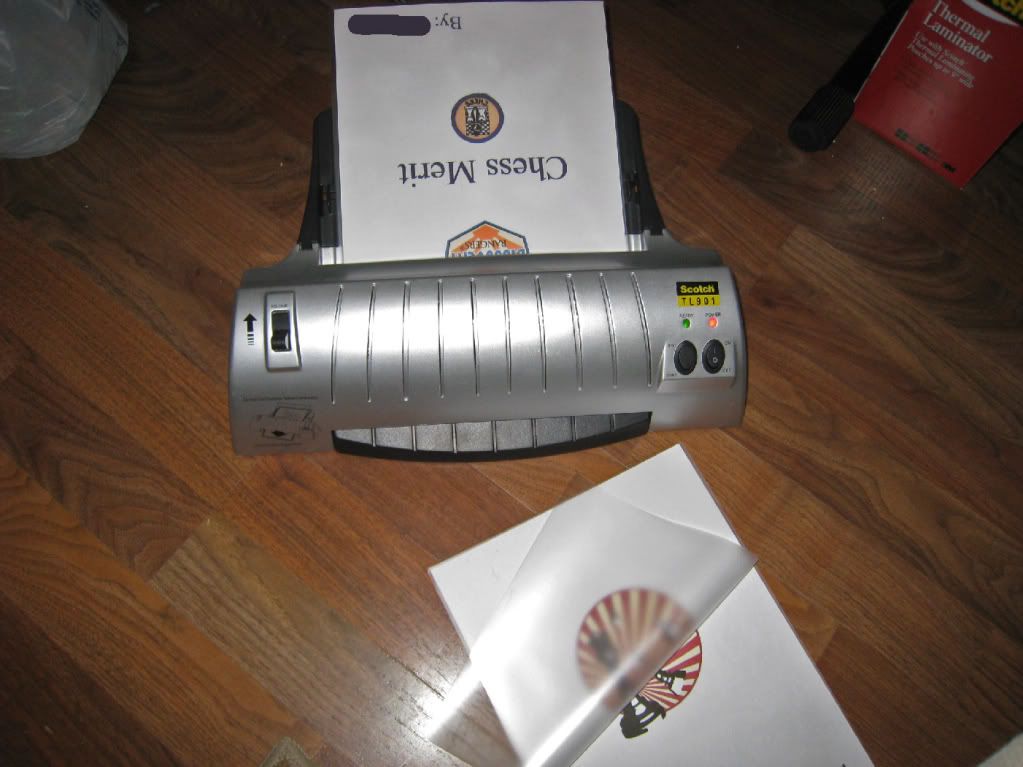
Downstairs in my homeschooling cabinet you’ll find two of my favorite tools. The first one I posted about Monday—my binding machine. I consider today’s tool as a companion piece but then it does so much more, and that’s my laminator. I consider it a companion because whenever I bind a notebook I always laminate the front and back covers (usually made with cardstock) to give the book a more durable cover (it also prevents the covers from being ripped off). The laminating pouches are actually 9 X 11.5 so the covers extend a quarter inch beyond the pages inside and protects them too. Here’s a picture where I’m making the cover for his Chess Merit notebook.
Beyond notebook covers, I tend to laminate anything that’s going to get heavy use. For All American History we use flash cards for games to memorize key facts, like explorers and their countries of origin. We add new cards all the time, but the first cards will get used over and over all quarter.
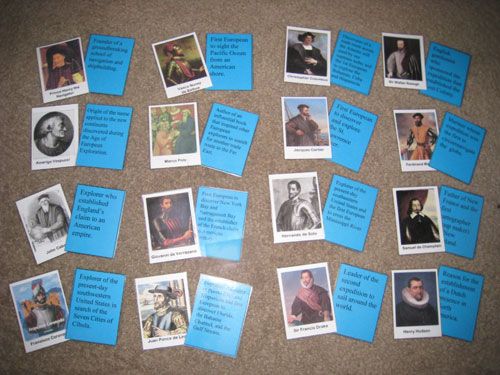 | 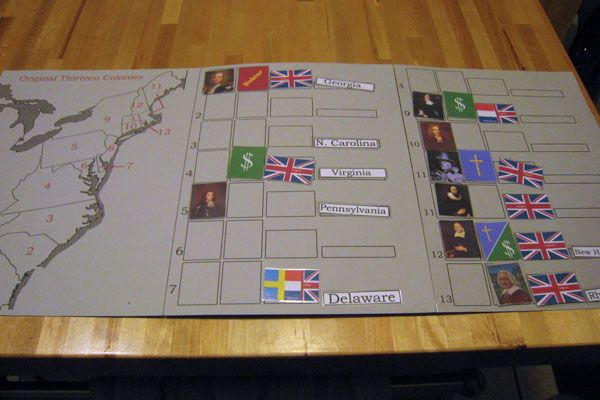 |
| Explorer cards and key fact cards for a matching game. | The founders, colony names, flags and reasons for colonizing are all laminated |
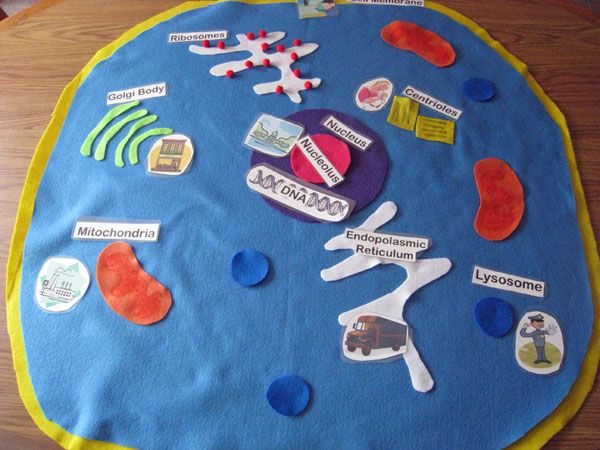
Sometimes the information I’m trying to protect won’t be used long but used hard. When I taught the structures of a cell to our science co-op, I made games that involved a lot of fast grabbing. Those kids would have torn my labels and pictures to shreds in the first round if they hadn’t been laminated.
Here’s a little trick I figured out last year—I made bookmarks 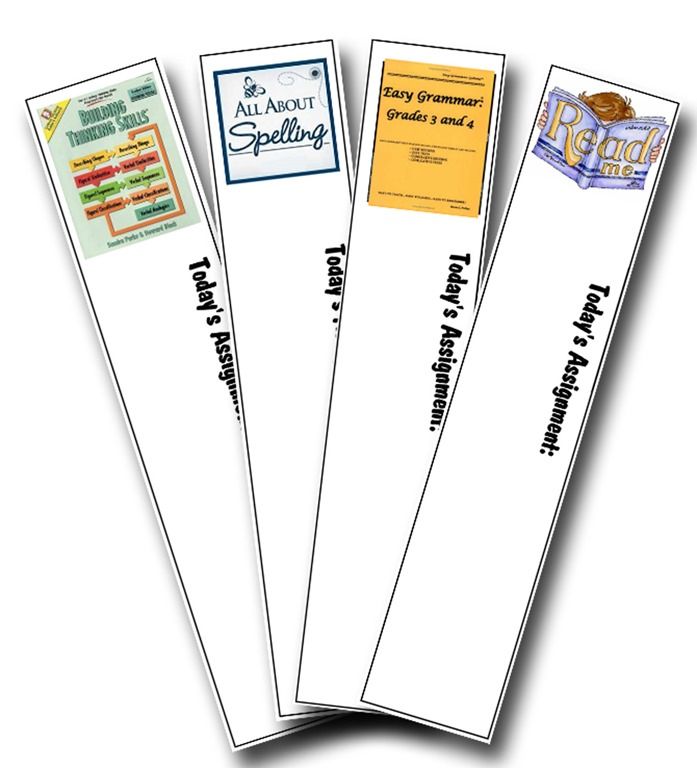 using images I found online and Photoshop Elements for every textbook we’d be using for the year. There’s a generic “Read Me” for library books I may assign throughout the year. Down the side of the bookmark I added the text “Today’s Assignment.” We marked our places in every book (you can’t believe how much the little time saved by not flipping around in a book can add up over a day). As a bonus, I could use a wet erase marker to write out instructions for my son. It freed me up from having to tell my son what to work on next if he wrapped up a lesson when I’m occupied with something else. In this case you’ll want to cut out the bookmarks first, then laminate and cut out the bookmarks again. When I tried laminating to whole page first and separating the bookmarks second, the lamination wasn’t sealed along the edges and started pulling apart over time.
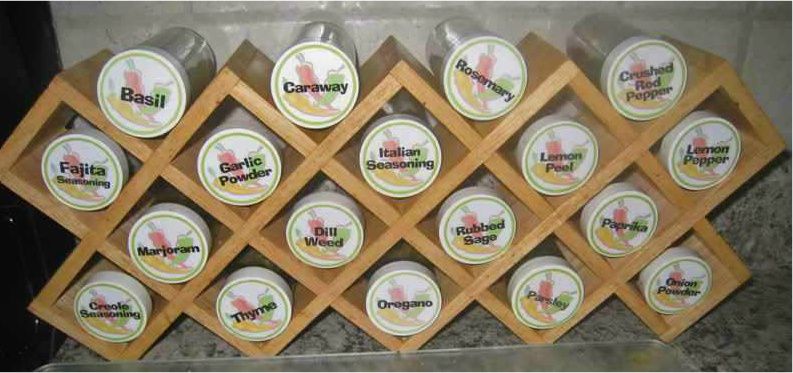
Once I got started laminating, I couldn’t limit it to school projects. With fresh milk from a neighbor, I separate the cream for butter and make dairy kefir so I have several mason jars in the fridge filled with white liquid. I’ve got laminated labels for the lids to tell me what’s inside AND how long it’s been there. Then there was my project to refurbish my old spice jars. The original labels were stained and peeling from grease spatters. I made new labels and laminated them to prevent reoccurrence of the problem.
There are actually two types of laminators: cold and hot. I’ve used a Xyron for cold lamination, but found the plastic won’t allow you to write on it (the marker ink just bubbles up), nor can cold lamination hold masking tape or Sticky-tac if you’re planning to mount something on the wall. If you’ve used a Xryon you can scuff up the surface with sandpaper and then it works a little better with tape. I just use my Xyron to apply adhesive now and laminate with my Scotch machine which handles regular sheets of paper with either 3 or 5 mils of plastic thickness.
I’ll confess to you that I bought a gift for myself last week—I couldn’t pass up the deal. A new Papermonster laminator for under $10 and this is a big one that can handle papers up to 11 X 17 inches! If you’re interested, you may want to sign up for emails from Mybinding.com as they tend to run these crazy deals from time to time.
You can click the button below to see what all the others on the Review Crew found to be Homeschooling Essentials but here are a few posts to get you started.
1. Marcy @ Ben and Me2. Lisa @ Golden Grasses
3. Tess @ Circling Through This Life
4. Victoria @ Homemaking with Heart
5. Kayla @ The Arrowood Zoo
6. Joelle @ Homeschooling for His Glory
7. Deanna @ His Treasure Seekers
8. Melissa @ Grace Christian Homeschool
9. Rebecca @ Raventhreads

3 comments:
Okay, I think you've convinced me. I have a binder (I actually got for a review) and I've been thinking of getting a laminator. I need to sign up for the deals website you mentioned and keep an eye out!
Leah, I don't think you'll be sorry. In fact, I spent the day yesterday laminating a Revolutionary War map and timeline to use as placemats.
Thanks for sharing the photoshop tutorials here. Keep up the good work. All the best.
Post a Comment