
Note: If your just joining the five day series, you need to go back and read Day One and Day Two because we’ll be using the techniques we learned then today. Also, thank you to Amy Pay of Home School in the Woods for her permission to showcase projects from The American Revolution Time Travelers CD.
This year we’ve been using several of the Time Travelers CD’s as part of our history study. One of the review tools created by Amy Pak is a newspaper of sorts. The master PDF pages are to be printed out and assembled for the student to write on and illustrate. Unfortunately for me, my son dislikes drawing and hates writing even more. So I set about to see if we could add type and images to the PDF files with our Photoshop Elements---and it worked! We have our newspaper for review of history facts for now and my son is picking up some practical (and marketable) computer skills in the bargain. So let me show you how it’s done….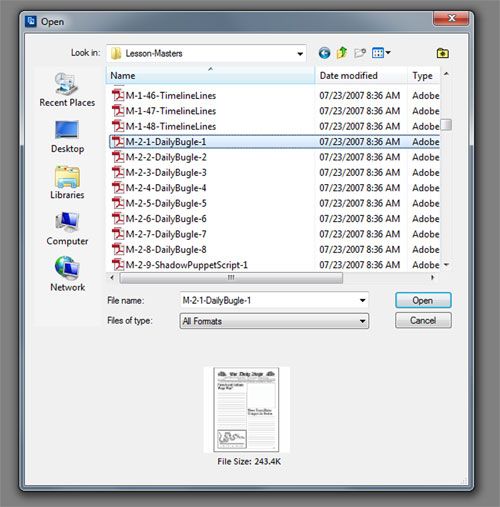
After putting the CD-ROM in my computer, I select File>Open and browse to my disk drive. The file folder I want it PDFs/Lesson-Masters/M-2-1-DailyBugle-1 . You can see a thumbnail preview at the bottom.
The Time Travelers files are arranged with one page per PDF file, but Photoshop Elements can pull one page or several from a file so we have to go through another pop up window. There’s only one page to select here, but you can see a sample of a multi-page file in my Lapbooking tutorial from last year.
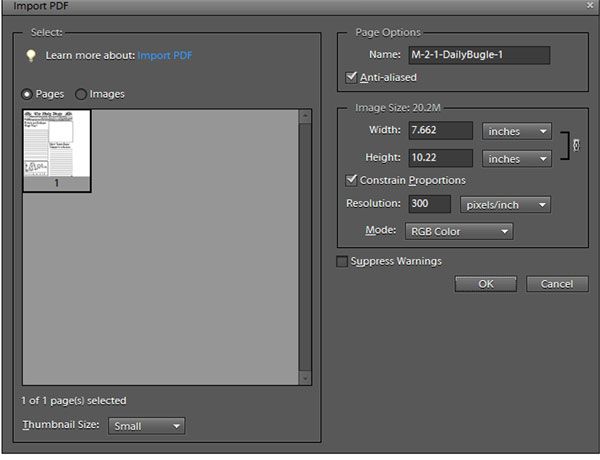
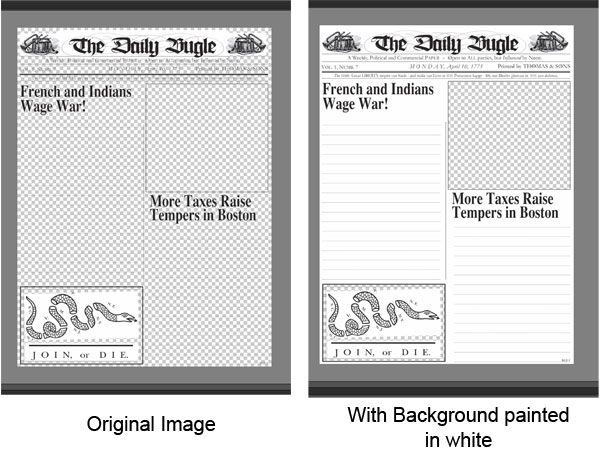
The first page of the Daily Bugle opens in our work area. Important Note: Be sure and immediately Save your file with a NEW NAME (Save As) so you don’t lose your original image. Now if you’re like me, you’ll find that checkerboard background distracting. All that means is that the background is transparent (in other words nothing will print there, leaving the paper blank). Too make it easier on the eyes I’m going to use the paint bucket tool to “pour” white color over the background. We’ll cover this feature more in tomorrow’s post on coloring PDF’s. This won’t effect our printed paper at all—just save us some eye strain.
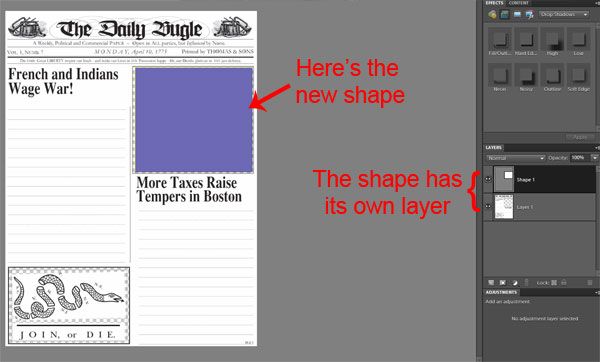
First let’s add a picture to that transparent box left on the right side of the page. I found an image of the Boston Tea Party, but let’s define the space where it’s going to go using the Rectangle Tool (see Day One’s post if you need to review the procedure).
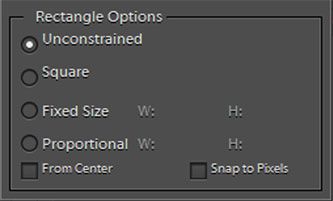
Rather than set a fixed size (since I don’t know it), I’m going to select the Unconstrained option and hold and drag my mouse over the area. The shape will automatically be placed on its own layer above the background.
Then I will open my saved Boston Tea Party image, drag it up into the work area and use the Move Tool to position it over my blue shape.
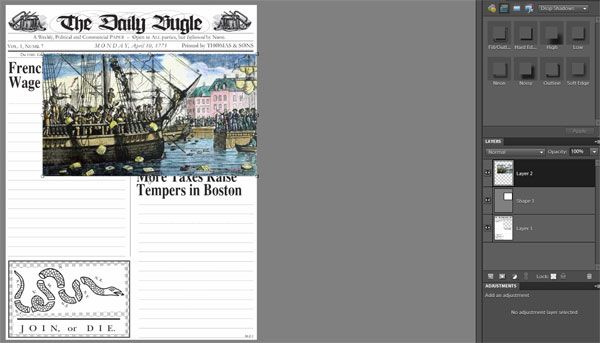

The landscape image is too big for my space. After I using the clipping mask (see Day Two) I can resize and nudge the image around and focus on the tea being dumped from the ship.
Now it’s time to work on the text. We’ll put another rectangle shape over the lined area meant for writing – this time I’ll make it white. Because this is going to be a considerable amount of writing—more so than the sentence we used on Day Two’s flash cards, I would have my son type his story into a Word document first. That way we can use spell-check, etc. I’ll just show you how to import the text.
First I highlight the paragraph written in Word , right click on it and choose Copy.

In Photoshop Elements, I’m going to select the Type Tool (the big T) and choose the font, size, color and alignment I want (this is covered in more detail in last year’s Day 3 post). I’m going to select a small font size to start because I can always make it larger. Then I click the mouse near the top of the white rectangle shape. You should see a vertical black line blinking (I can’t use screen capture to show you because the cursor always disappears). Then I right click the mouse and choose Paste. The text will appear and wrap itself in the defined shape.
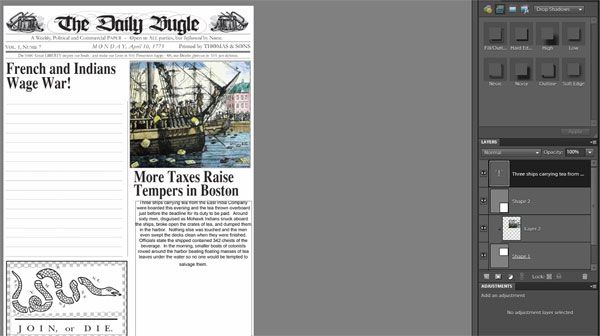
You can see I’ve got plenty of white space left so I’ll enlarge the font. With the Type Tool still selected I’ll click anywhere over the text –this will keep me in the same text layer instead of starting a new one. Then I can click and hold the mouse and drag it over the entire paragraph to highlight it (It will now appear white on a black background).
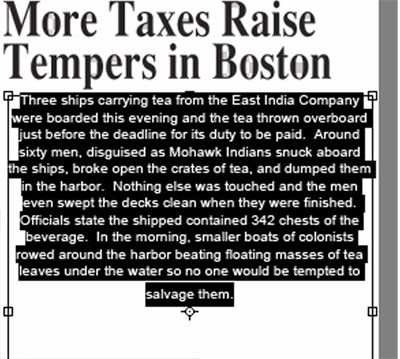
With the text highlighted, I can go to the top of the screen and click on the down arrow next to the font size. I’ll keep selecting the next larger size until I find one that fills my space. When there start to be bigger gaps between predetermined sizes (say a jump from 48 to 60 pts) you may prefer to type in a number.
Just repeat these steps to fill in the other side of the page and you’ll end up with something like this.
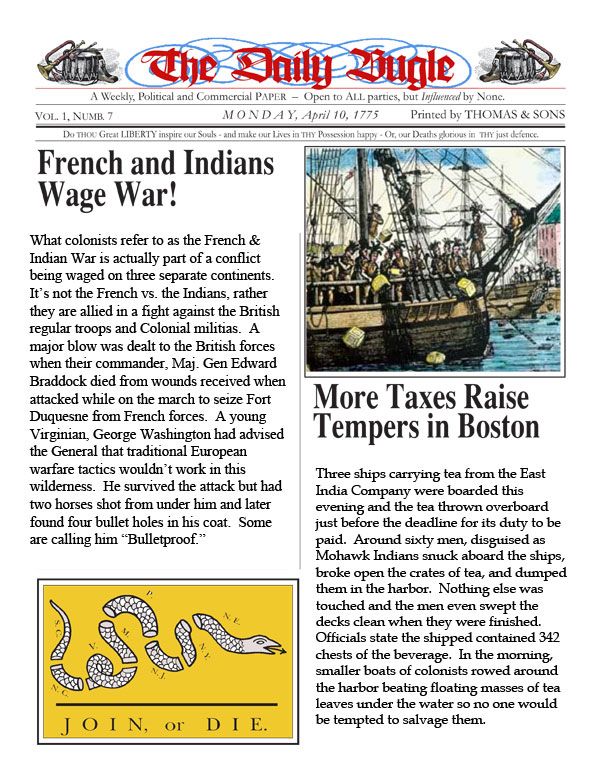
Like it? Did you notice the title and the flag had been colored in? We’ll be learning how to color in PDF files tomorrow so come back.
In the meantime, check out some of my Crew mates 5 Days of … posts or click on the graphic to see all the participating blogs.
Beth @ Acorn Hill Academy ~ Nature Study
Aurie @ Our Good Life ~ Photography Tips and Tricks
Dinah @ The Traveling Classroom ~ Tips for Learning a Second Language
Julie @ Nurturing Learning ~ Art Resources
Tara @ This Sweet Life ~ Preparing for a New School Year
Sara @ Embracing Destiny ~ Purposeful Living
Rebekah @ There Will Be a $5 Charge for Whining ~ Culinary Adventures for Boys
Hillary @ Our Homeschool Studio ~ Fitting in the Extras
3 comments:
These are some great tutorials! Photoshop has always been a bit overwhelming to me. I love that you have step-by-step instructions...I need to see it to understand it.
Rebekah, visual learner here too. A great resource for me was the book Photoshop Elements: Basics and Beyond by Patty Debowski. She goes through all the tools and even has a chapter "What did I Do Wrong?" to help troubleshoot common problems.
Excellant series, very pleased with the details for a novice like me.
Post a Comment