
 Yesterday we used a Quick Page to plop three pictures into a page that someone else had designed. We could have changed the colors of the Quick Page but not any of the decorative elements or the placement of the features. Today we’ll be going a step further…by using a Multi-Layer Template we can choose the Digital papers and elements we want on the page, we can move things around and delete things we don’t need. Digital Scrapbooking is one of the greatest uses for Photoshop Elements. No more running to the craft store for papers, stamps, stickers, etc. You can customize colors and sizes of all the digital elements—and you can find PLENTY of generous crafty souls who offer what they’ve made FREE on the internet.
 For today’s lesson, I’m giving you a gift—a template I made myself so you can practice along with me--5 Days of PSE for School Template.psd Rather than make a kit of papers and elements, I’m going to direct you to ComputerScrapbook.com where everything is FREE. If you want to follow my directions exactly, I’m using the Home of the Brave Kit. Just add everything to your cart, you won’t be asked for any financial info when you check out. Then download, save and unzip all the files. By the way, digital scrapbooking can take up a lot of memory so you may want a 32 K thumb drive or an external hard drive if you start accumulating kits.
If you do start amassing digital scrapbook files, you may also want to take advantage of PSE’s organizer feature. I have a catalog devoted to digi-scrap and I tag everything by kit, by color, and what each item is (template, paper, alpha set, etc.) so I can search for specific items. If you want to know more about that, I suggest getting a copy of Photoshop Elements: Basics and Beyond by Patty Debowski (it’s geared towards the digital scrapbooker). If you buy the book you’ll get a CD full of digi-scrap kits and a file with all the tags to sort them by.
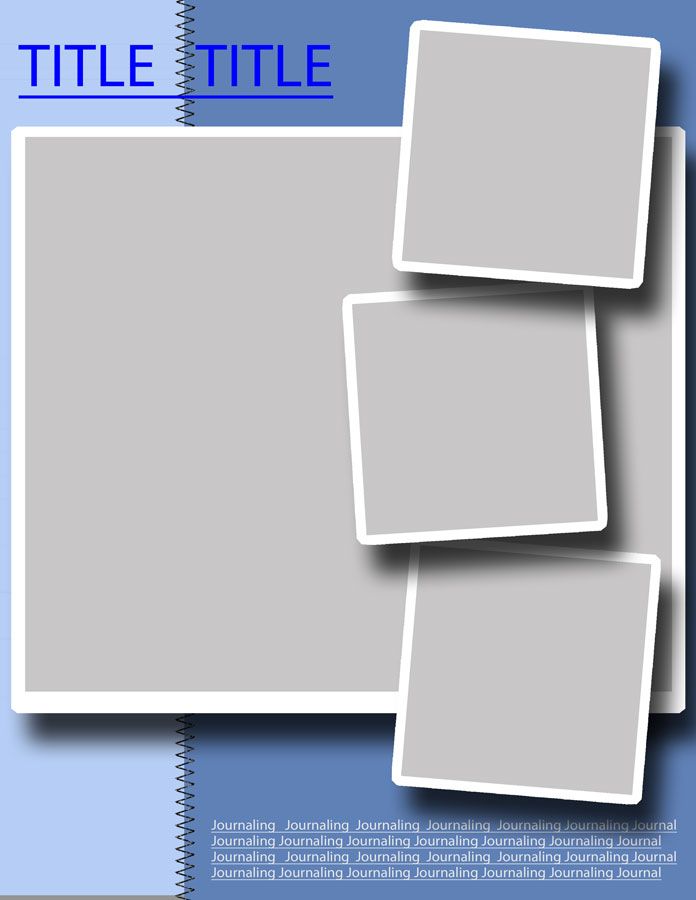
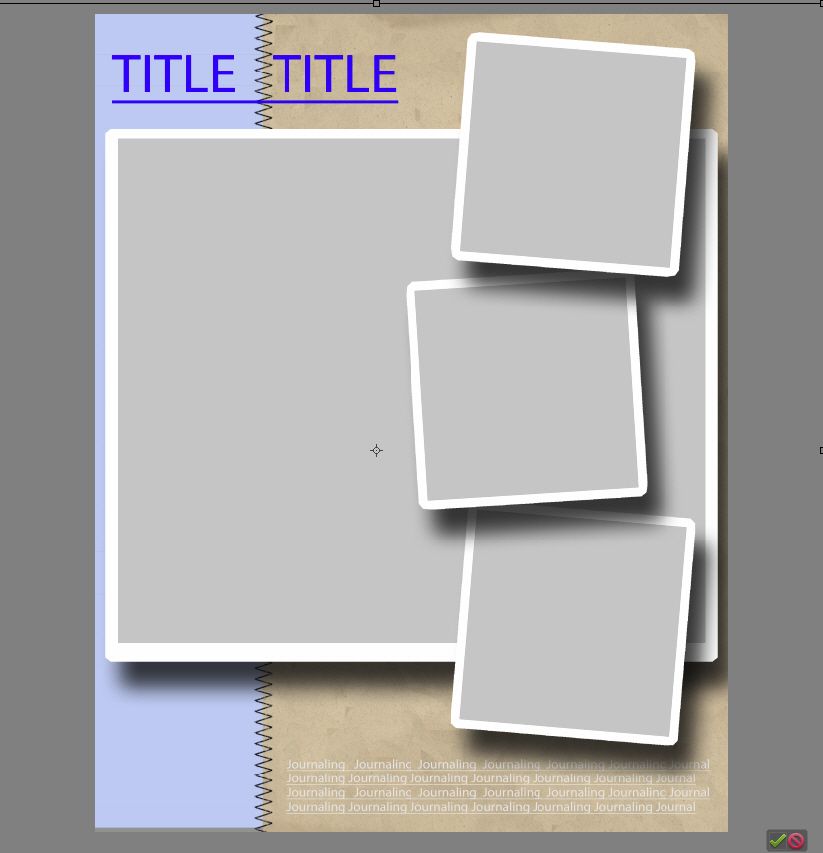
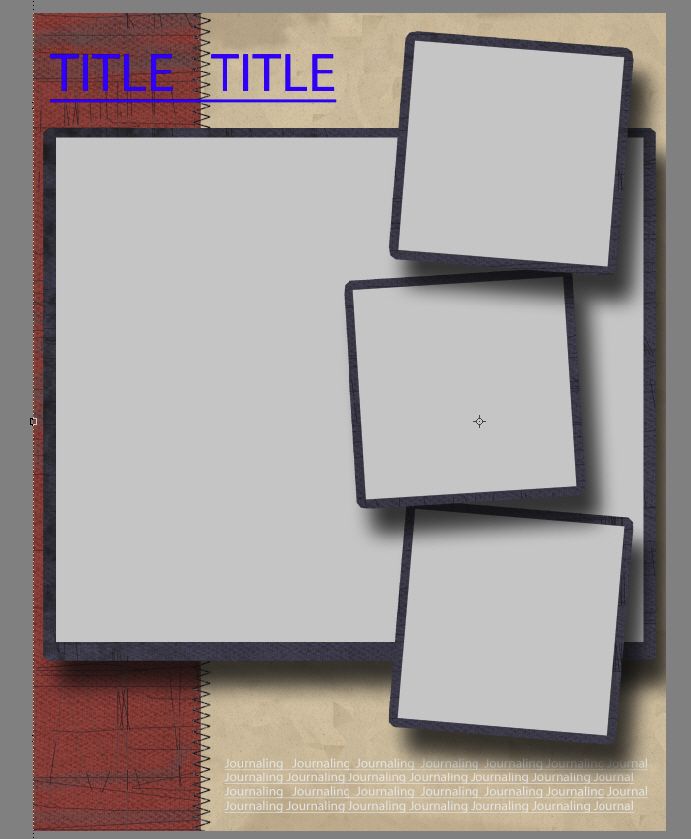
In this case we don’t need to start with a new Blank Page, the background and all the sandwich layers have already been set up in the template. When you buy a layered template or download a freebie, you may actually receive several files e.g. a preview of the template in a .jpeg format. You want to open the file with a .psd at the end. Important: As soon as you open a template, save it under a new project name! (choose File > Save As) If you just use Save when your work is finished you’ll have lost your blank canvas for future projects—guess how I know this..
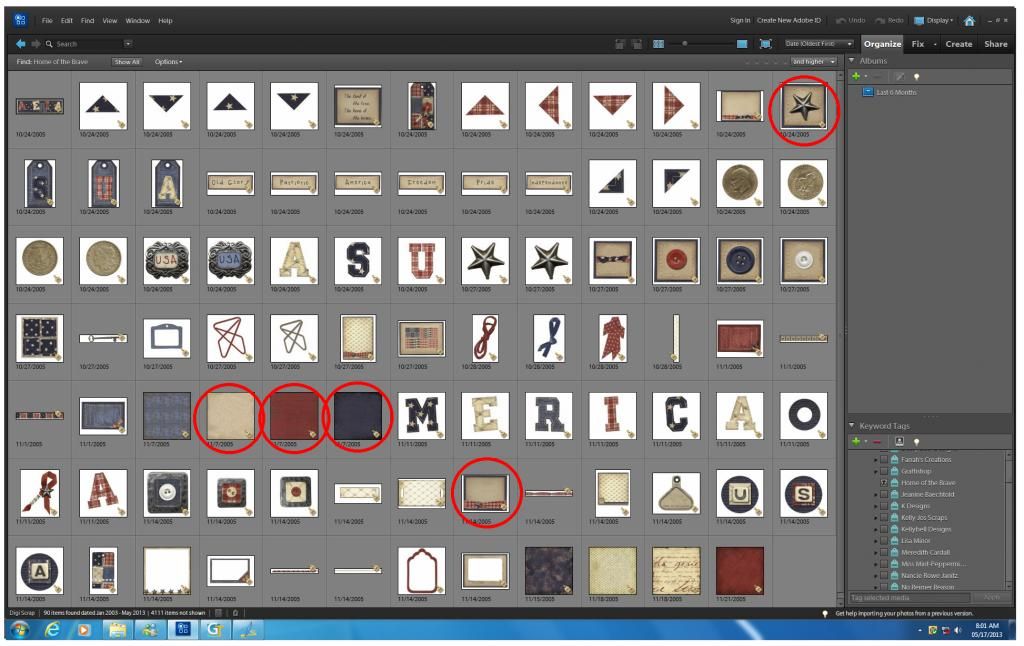
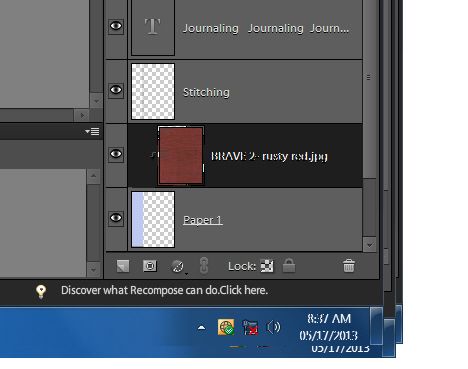
You’ll also want to open files for the digital papers, embellishments and journaling tags you want to use in the project. You can either use the File >Open command in PSE’s Editor and browse to find where your digi-scrap elements are stored or you can click on images in PSE’s Organizer (hold down the Ctrl and click to select more than one) and choose Fix > Full Photo Edit in the Organizer’s upper right corner. I’ve circled the elements I’m going to use.
Now we’re going to start coloring/covering each layer using the same technique over and over again (since layered templates have plenty of layers, you get lots of practice).
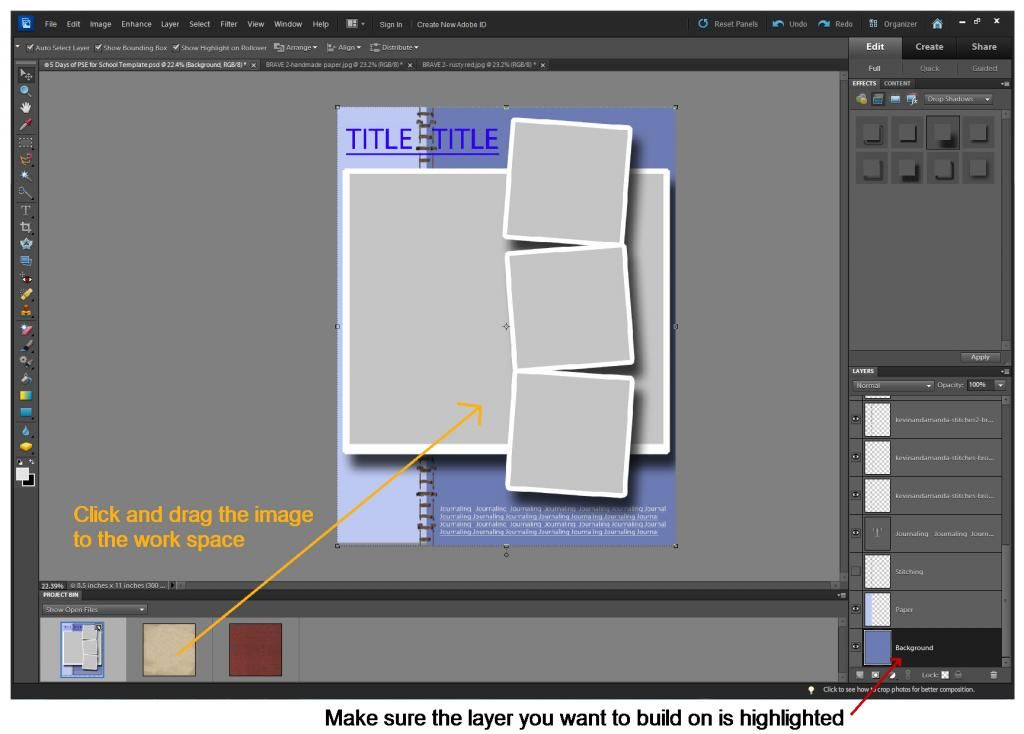
With the layered template active in the work area, start by highlighting the background layer in the Layers panel. Then choose your Move Tool
Moving from bottom to top, we’re now going to change the Paper 1 layer so highlight it in the Layers panel. Then click and drag the next paper up to the work area (I’m using the red patterned paper).
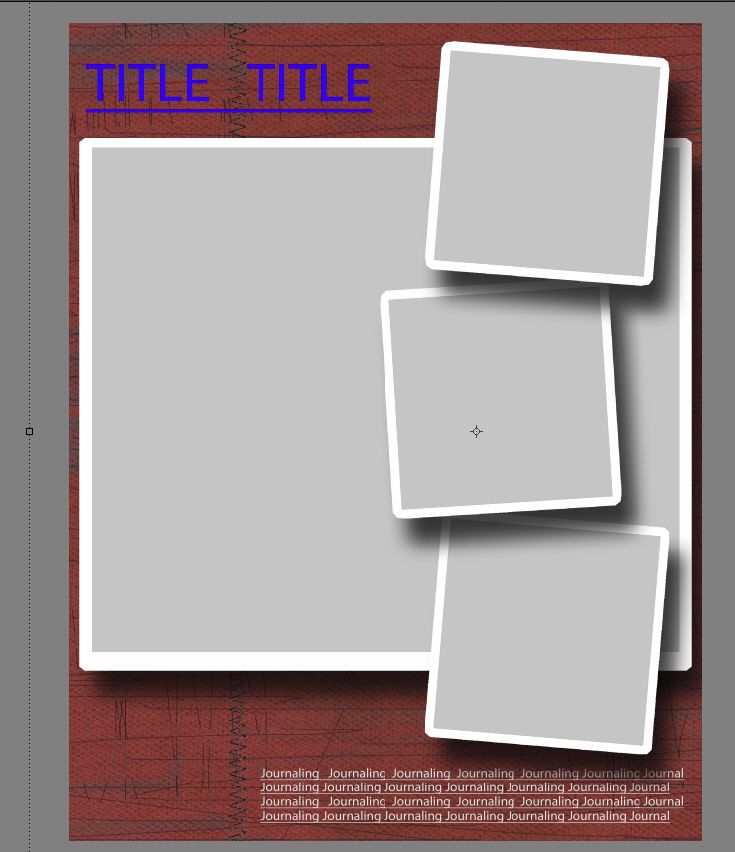
Uh, oh. Not only did it cover the Paper 1 area, but our nice tan background too. We could resize it to fit by dragging on the squares at the sides and corners like we did yesterday, but that might really distort the patterns on some papers. Instead, we going to use a Clipping mask technique. With the paper we want placed just above the layer we’re coloring, we just hold the Ctrl button and press G.
 |
 |
Now our red paper is confined to the space we want and in the Layers panel a thumbnail of the red paper is indented above the Paper 1 layer.
Now try repeating these steps with each of the Matte layers using the blue paper.
- Select the layer you want to color
- Drag the colored paper from the project bin to the work area
- Use Ctrl >G to clip mask
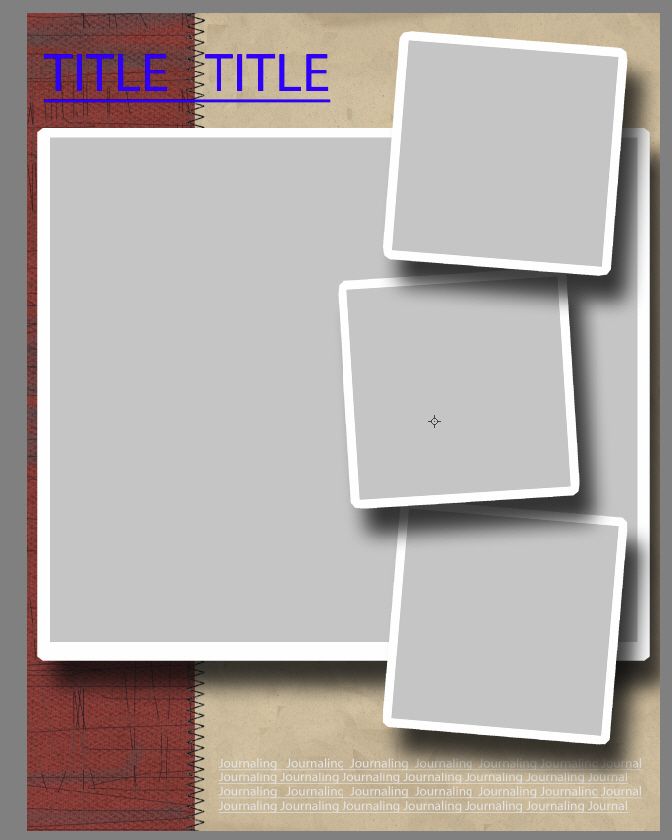
Now we’ll use the same technique to add the pictures above each picture layer. I usually use the clip mask first and then resize my picture so I can see it all in the space provided. Be sure to resize using the corner squares (not the sides) to keep the perspective right.
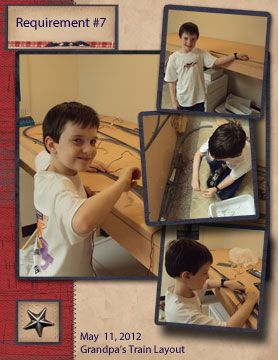
Next, I opened some files for decorative elements—the star and journaling block with the ribbon. This only involved dragging and resizing, not clip masks. The last task was to add a page title and some journaling (I promise we’ll cover text tomorrow so stay tuned). This particular layout was to document Schnickelfritz’s work on a model train layout for his Railroading Merit.

For this page we needed to show the movement of the moon for three hours on one evening and at the same time for three nights in a row. I used Photoshop Elements to merge the photos on top of each other, highlighting and labeling the moon’s position in the conglomerate picture (sorry, that lesson is beyond the scope of these 5 day lessons—but I’m starting a list of future tutorials).


Homeschooling usually involves record keeping—if not for state regulations, then to create a transcript for potential colleges. Perhaps you just want to preserve fond memories of your kids educational journey--remember the field trip to the Civil War battle re-enactment? Don’t just write a few lines in your log book, take pictures during the event. You can also take pictures during scientific experiments or while cooking historical recipes. Perhaps you’re one of those hands-on teachers with a ton of projects and crafts and nowhere left to store them. Take pictures of everything and then you won’t feel as guilty when some things have to be thrown away! Digital storage doesn’t clutter up your house!
Now remember to post comments about what you'd like to learn to do with Photoshop Elements.

1 comment:
I can't wait to come back and read and try all of your wonderful ideas! Life is a little crazy right now but I love keeping "digital" records of our projects and such so as to cut down on space. Thank you for a great topic!
Post a Comment