
 Welcome to 5 Days of Photoshop Elements for School! Each day I’ll have a new lesson using Photoshop Elements and a new Idea on how to incorporate it into your schooling. Why Photoshop Elements? It’s rather inexpensive for photo enhancement software compared to its big brother Photoshop, but it can do a lot of the same things. The things it can’t do are probably beyond the sophistication of a mom making homeschool printables anyway. I’ve often seen it bundled with printers on the home shopping channels, so you may already own a copy. I got mine with my Max Perks rewards after buying school supplies and toner (homeschoolers are eligible for Office Max’s Teacher’s Rewards program).
 We’ll start out with some very simple techniques and progress through the week. If you’re just getting your feet wet in the digi-scrap world, you can start with a Quick Page or “Plopper.” In this case, someone else has done most of the arranging/decorating work for you and all you need to do is “plop” in your photos.
IMPORTANT NOTE: Whenever you download a digital scrapbooker’s work—papers, quick pages, templates, etc., you will usually receive another file labeled TOU. These are the Terms Of Use allowed by the creator. Everyone allows personal use of the materials in your home, but please don’t sell or distribute items you’ve made using their materials unless they allow it. You should also give credit to the creator when you post your works online. For this lesson I’m using a kit called Learn Discover Explore by Lisa Minor.
Begin by starting a new blank file. Click File > New > Blank File. A new window pops up.
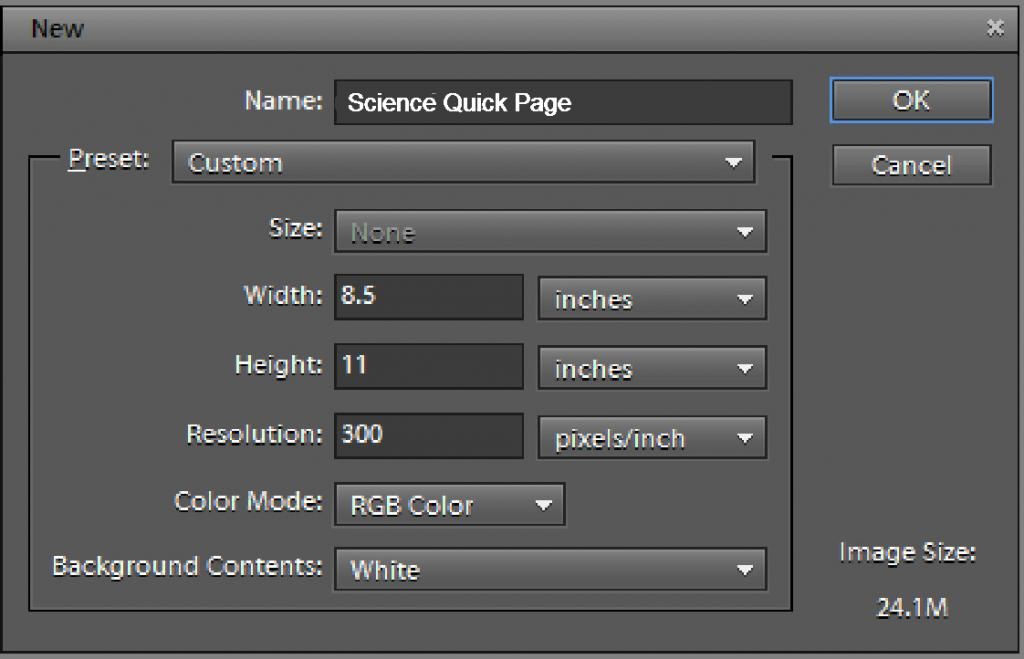
Since I print at home, I make my pages 8.5 X 11 (there are online vendors and places like Costco that can print 12 X 12 layouts for you). Make sure the resolution is 300 pixels/inch (most digital scrapbooking supplies come in this resolution) and the Color Mode is RGB Color. I usually keep the background color white. A white rectangle will appear in the work area of the screen.
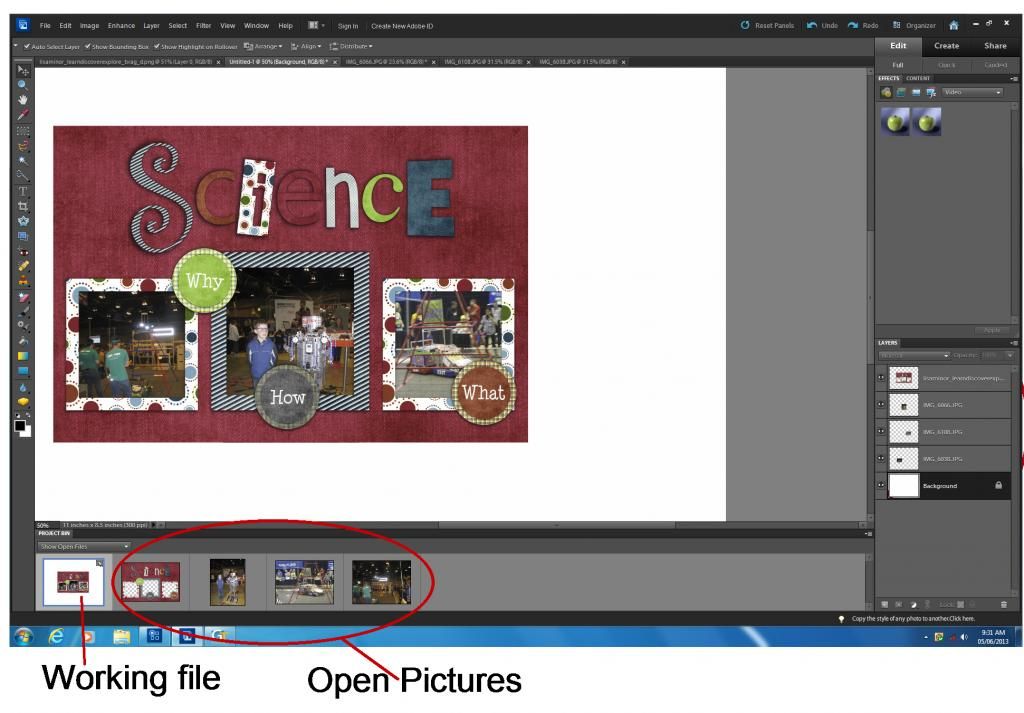
Next open your Quick Page file and the pictures you want to add. Click File>Open and then browse for the files you need. They will appear on top of one another in the work area so you’ll need to double click on the blank file in the area labeled Project Bin at the bottom to bring it to the top of the work area.
Now click on the Move Tool
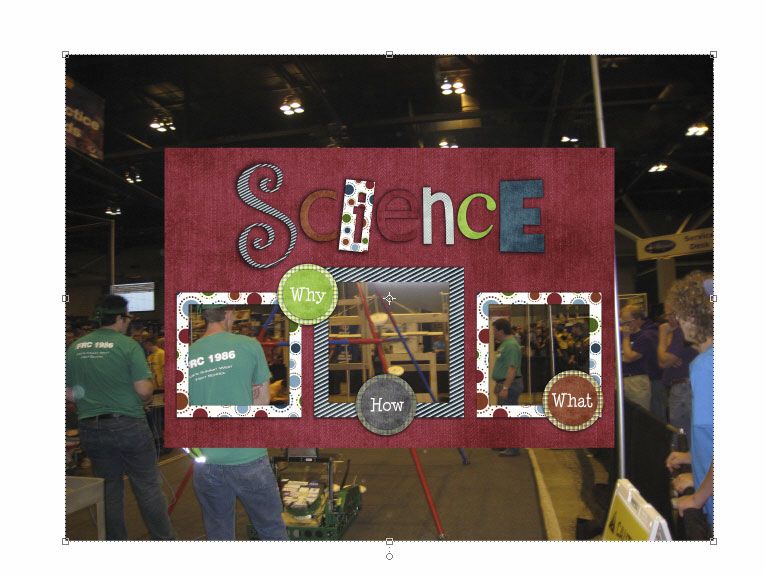
 at the top of the toolbox on the left hand side of the screen. Click and hold down the left mouse button on the Quick Page thumbnail in the project bin and drag it up to the blank file. Everything you drag up will appear in the very center of the page. As long as you still have the Move Tool selected, you can move, rotate and resize the image.
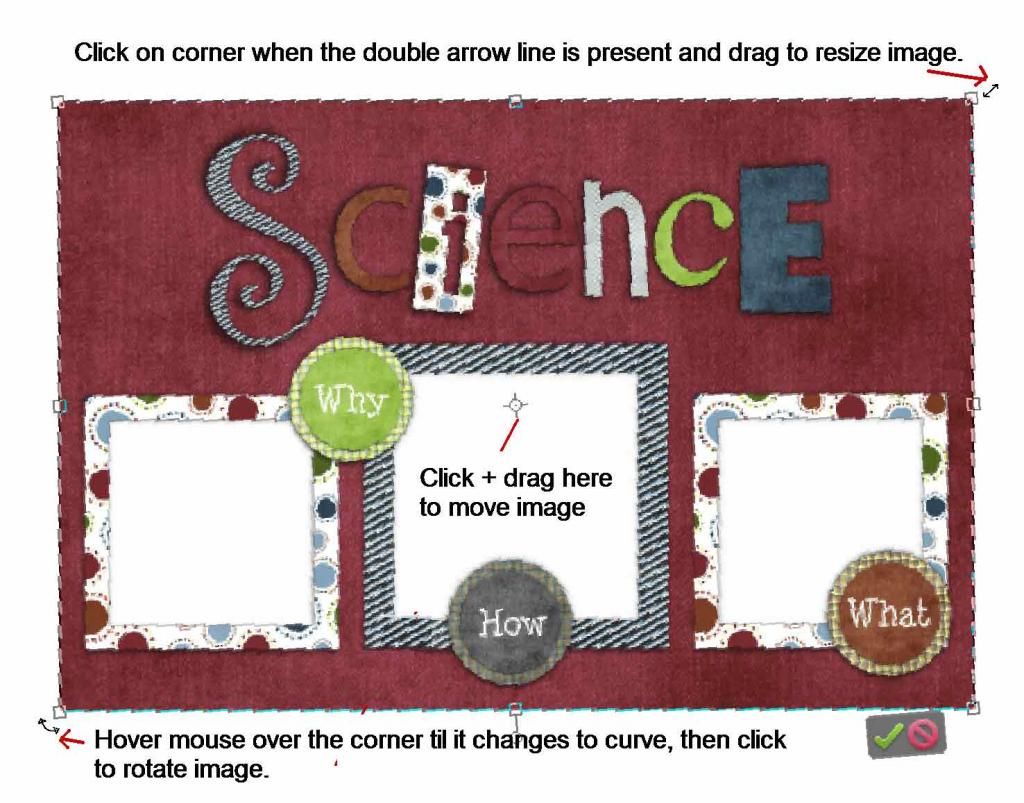
If you click on the squares in the corner you will resize the image keeping the aspect ratio the same. If you click and drag the squares on the sides, top or bottom you will only increase one dimesion (width or height). When you’ve finished manipulating the image, you’ll need to click the green check mark in the lower right corner to continue. Now that we’ve got the two slices of bread for our quick page sandwich, we’ve got to add the photo filling. We’ll be working with layers area of the screen.
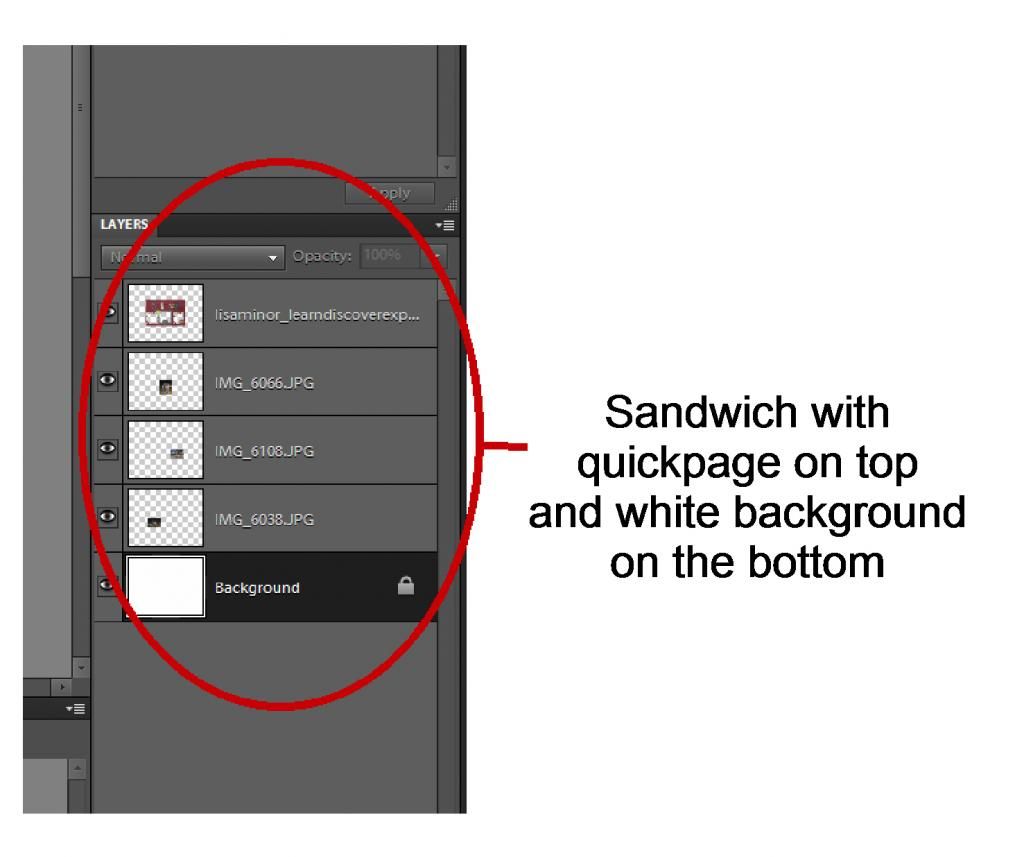
As we drag the pictures in place they will appear above the active layer. In the lower right side of the screen click on the layer named Background to highlight it (and make it active). Then make sure you’re still using the Move Tool and drag up the first picture just like we did the quick page.
 |
You can see the picture is much too big! Don’t panic, we can resize and move the image as described above. Don’t worry about any part of the picture that strays into the next opening. It will be covered when we add the next picture.
|
| Notice that you can manipulate the picture even when it appears to be beneath the Quick Page. The outline and corners are still visible. | 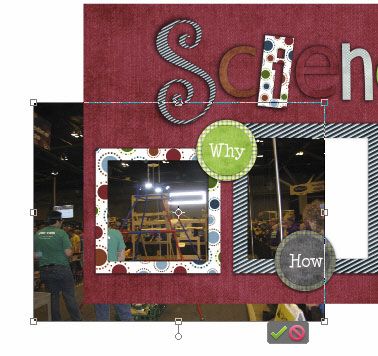 |
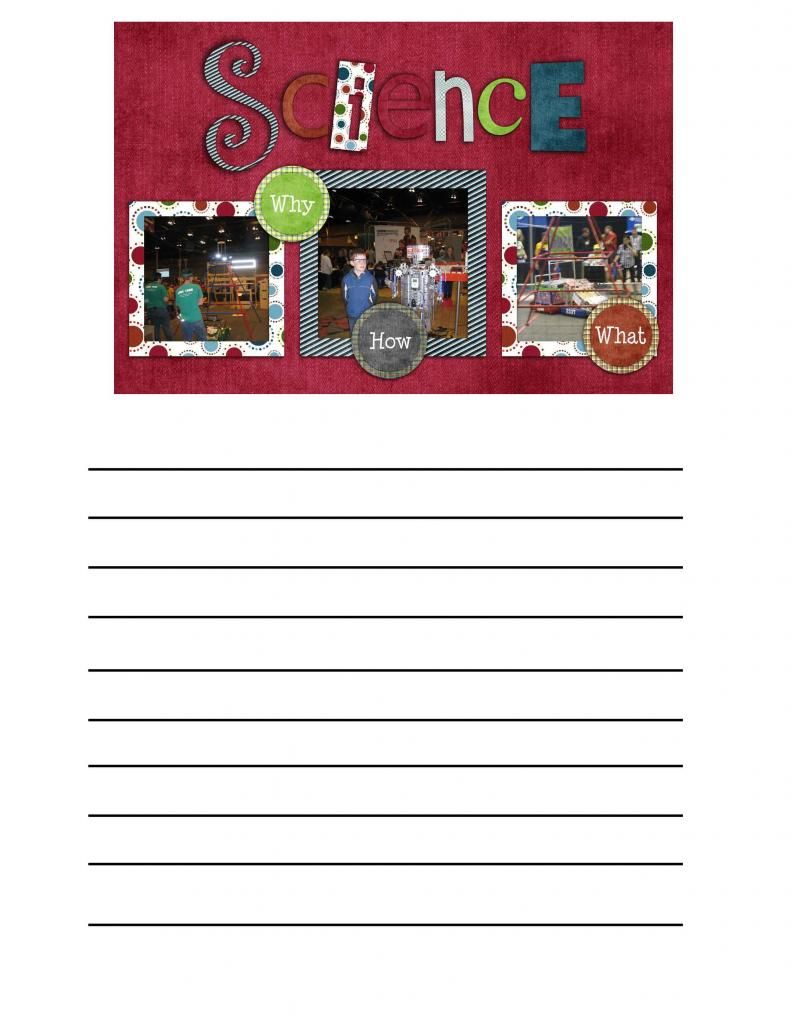
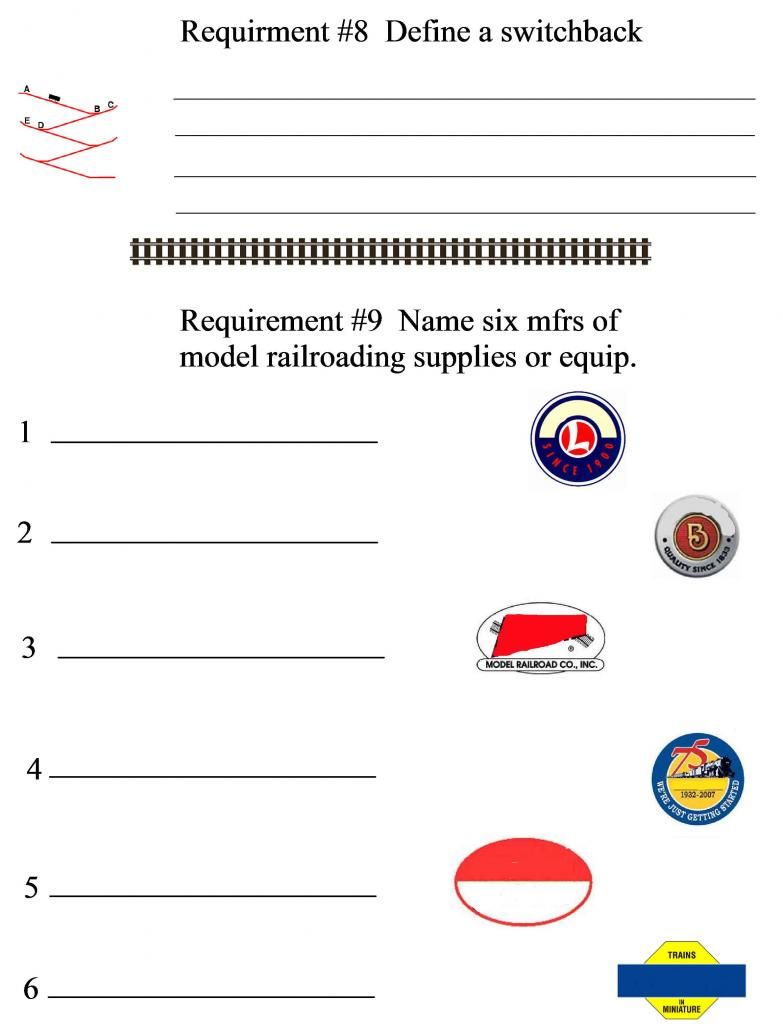
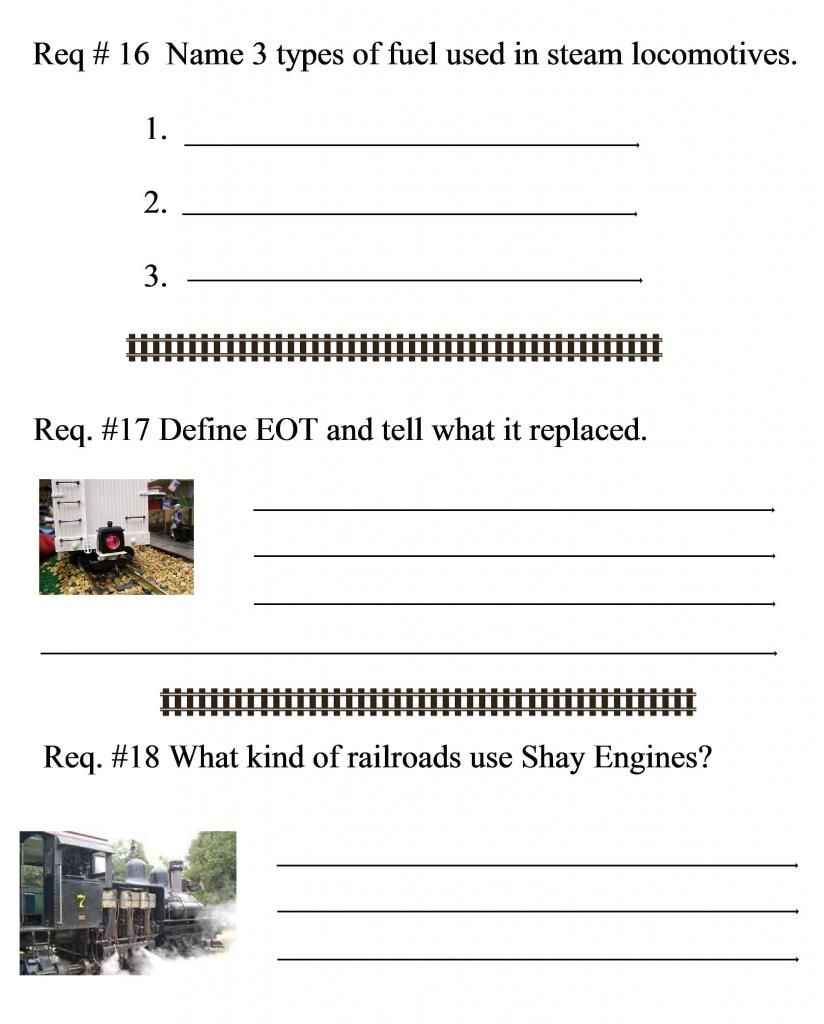
This particular Quick Page is not a full page size-- I believe it was designed for a brag book. I added lines to the bottom of the page and turned it into a journaling page for my son to write about our trip to the Lego Robotics Championships.
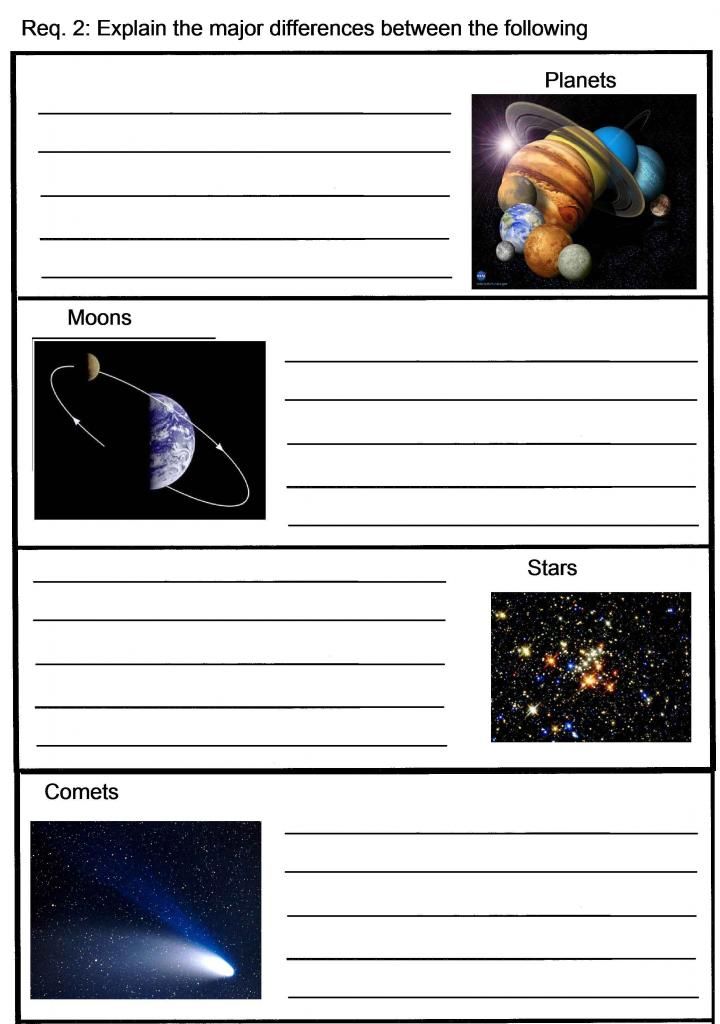
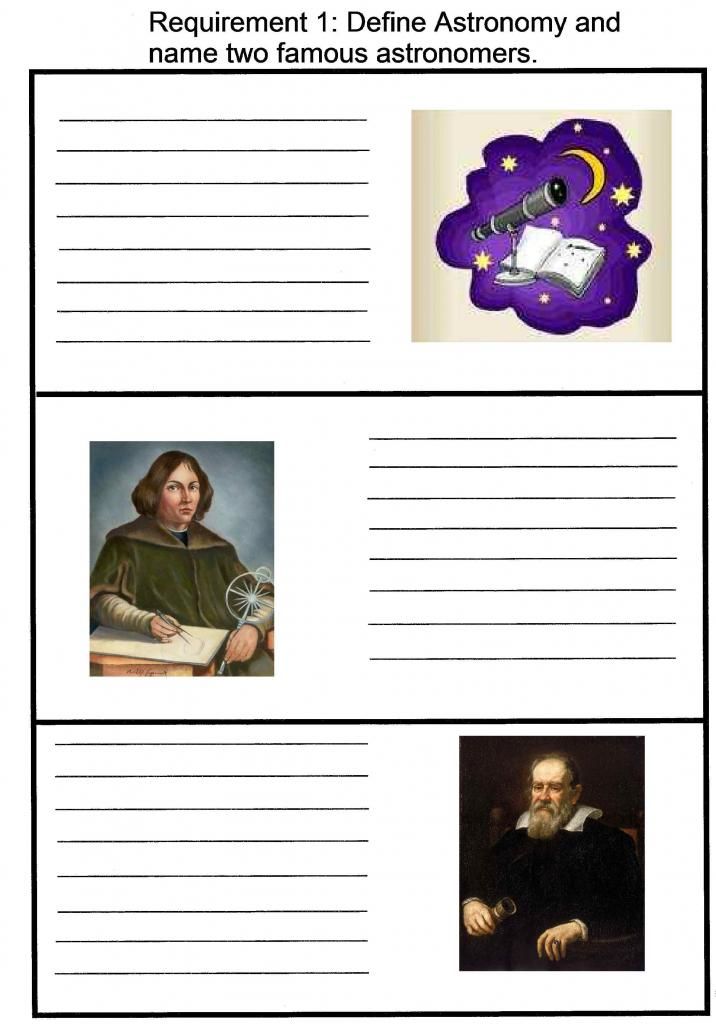
Speaking of notebooking or journaling, I most often make journaling pages for my son’s Royal Rangers’ merit requirements. After binding them together he can show his work to his Commander. Here are some sample pages from his Railroading and Astronomy merits. I just Google images to match the question subjects.
 |
 |
 |
 |
Don’t want to start from scratch? You can also search for “notebooking templates” and open PDF files in Photoshop Elements Editor just like the Quick Pages then just add your own titles and images. (We’ll be doing this on Day 4 with lapbooks). I know we haven’t covered adding text yet. You’ll just have to visit this blog for the rest of the week to keep learning (or consider following Ozark Ramblings with one of the options on the right side).
I’ve got so much to share, I’m thinking of making weekly PSE tutorials. So I’m looking for comments—what would you like to learn to do?
Now be sure and click on the image below to visit the main Blog Hop page and see what other crew members will be sharing this week.

4 comments:
This is exciting - I'd LOVE to be able to know how to do this, but never could figure it out! If I did accomplish something, it was luck and couldn't be replicated! Looking forward to this week!
Stopping by from the Crew Hop.
What cool ideas. I use PSE all the time for scrapping and never really thought about how to use it for school. Thanks for sharing.
I think this is a great series, i wish there were more detailed explanations like this on computer items. Great work, Ozark Ramblings!
I would love a tutorial using PSE to make photos Pinterest ready. I just got PSE and don't know how to use it at ALL. Learning to modify photos with a border, caption, watermark, etc. is my first priority.
Post a Comment